Featured

TopoTransform Concept

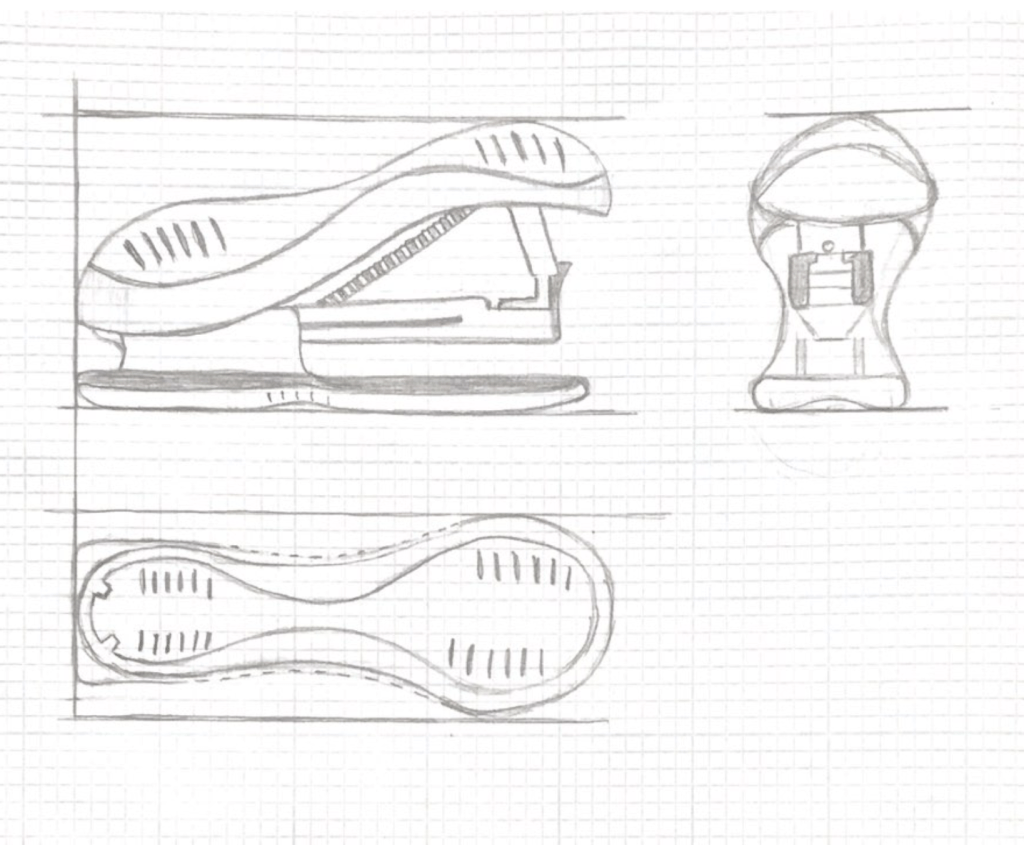
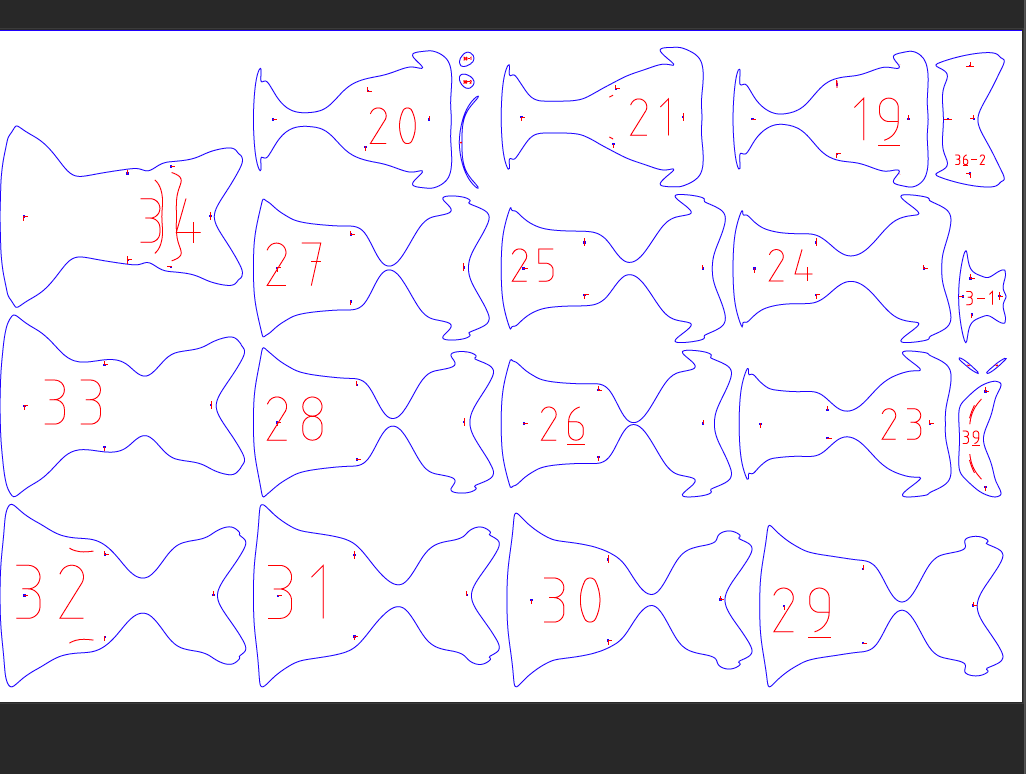
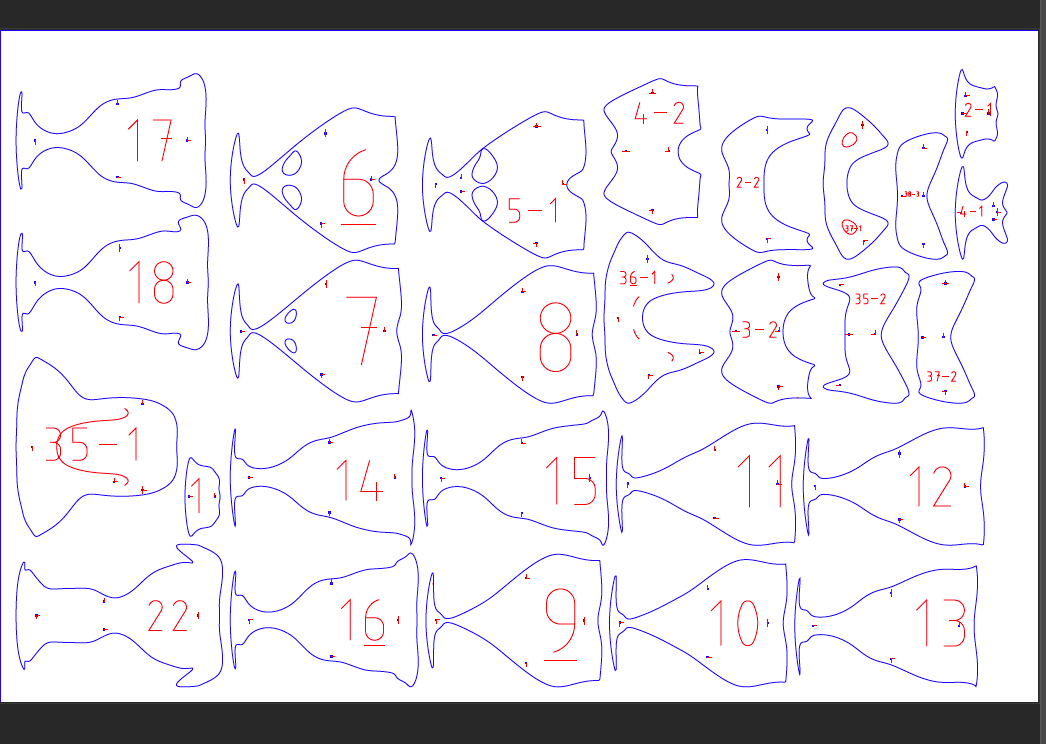
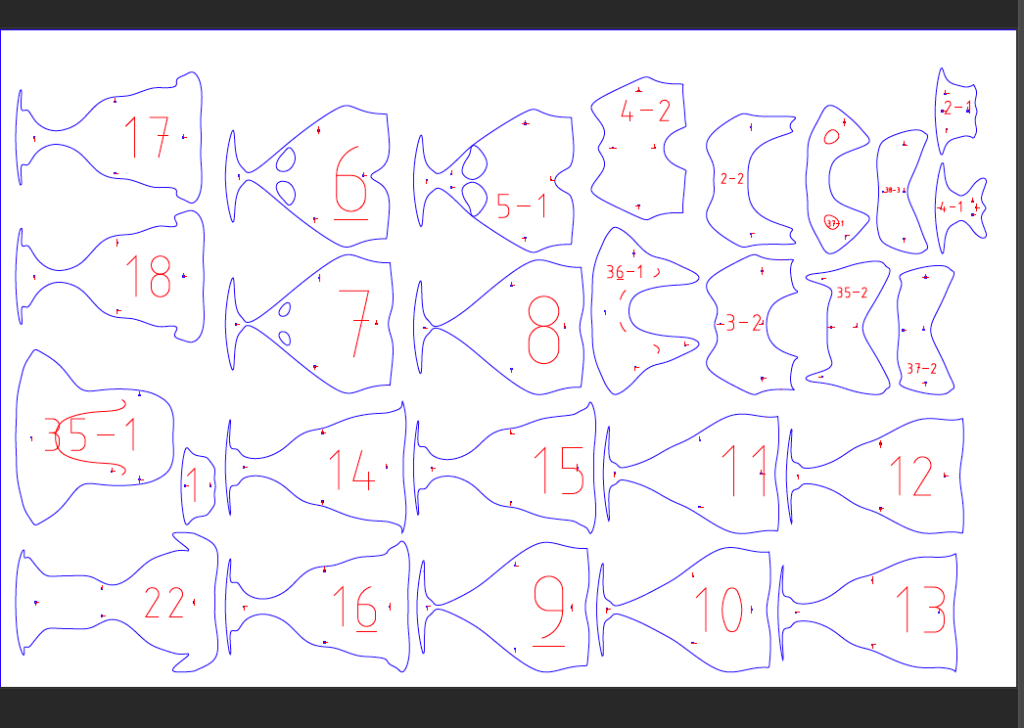
For this project, I had already chosen an object to work with and it was a stapler. What I did to create this TopoTransfrom Concept is First I Inserted my 3d drawings into fusion 360 and I created a model of a stapler using a cube and by manipulating it . Once i am done creating my model I inserted it to Slicer and Used 2 sheets and i managed to get 40 cardboard pieces in it. Combining all the pieces together It recreates my model (Stapler).

TopoTransform Final

This image has an empty alt attribute; its file name is screen-shot-2019-10-29-at-11.15.32-am.png
This image has an empty alt attribute; its file name is screen-shot-2019-11-11-at-9.20.41-pm.png

Summery: For this project I have spent 3 weeks on it and 2 class period of each week. This project has been divided into three parts : I created a model of a stapler in fusion 360 by inserting the 3D drawing I did as shown above. I formed a sculpture of stapler and once i was done with it I next inserted My model into fusion 360 to create a TopoTransform concept as shown about with 2 sheets and 40 pieces divided evenly. Once i was done with it I created a fabrication with 3D laser printing. Once I put the pieces together it created a 3D model of My original Object (Stapler)

sculptAndSlice Post:

For this project, I chose an item that I could drew in three different versions, So I picked stapler as my object and what I did with it is that I measured the object out on a paper and drew it from the front, back and the top view and I drew them out in a way that I could parallel the ending and starting point of the object thus, that way you could get the idea how the object is being displayed and it would make it easier to module the object in fusion 360.

Design a site like this with WordPress.com
Get started